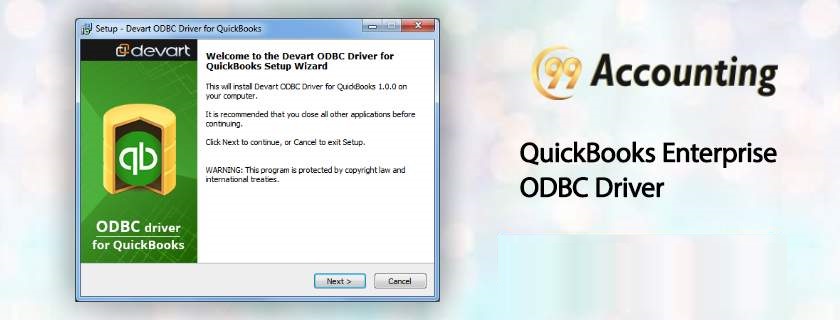
QuickBooks Enterprise ODBC Driver
ODBC Driver: QuickBooks Enterprise
QuickBooks in collaboration with FLEX Quarters (Intuit Developer Network member) in order to structure an ODBC driver (read-only) which was labeled as QODBC to be employed with QuickBooks Enterprise software. It allows you to make your own reports, invoices, and as an administrator, access QuickBooks data file through third party applications such as crystal report, Microsoft Access, and Microsoft Excel.

This driver can be located within QuickBooks Enterprise software by navigating towards the File tab from the main menu, followed by the Utility option, and then click on the Setup QODBC option. It basically allows users to access the software data through 3rd party programs like Microsoft Access, Microsoft Excel, Crystal Reports, etc. In case data has to be written back then it is better to connect with the QuickBooks Customer Service team through QODBC.com.
Install and Configure QuickBooks Enterprise ODBC Driver – Requirements
- Ensure that your system has MS .Net framework 4.5.
- ODBC driver for QuickBooks support Microsoft windows 32-bit and 64-bit.
- You should make sure (before installing ODBC driver) that OBCC isn’t installed in your system as these two drivers shouldn’t be installed in your system simultaneously.
Configure and Setup ODBC Driver of QuickBooks Enterprise
QODBC driver incepted for QuickBooks Enterprise software accords user with the option to export company file and business data to 3rd party applications like Microsoft Access, Microsoft Excel, Filmmaker, Crystal Reports, Python or.NET, etc in order to generate customized reports. In order to configure this driver follow the steps below:
- Under QuickBooks software click on the File menu option, followed by the utility tab, and then click on Set Up ODBC.
- Now select the tab labeled General and follow the steps below:
- 1. Click on the ‘Use the Company file’ option that’s now open in the new QuickBooks screen.
- 2. Under the Data Source Name, type QuickBooks Data.
- 3. Select the option called Test Connection to QuickBooks.
- A message will be prompted on-screen displaying “Test Connection to QuickBooks Successful” wherein the user should click on the Ok tab and then on the Apply button.
- Now select the option of Messages and perform the following steps:
- 1. Uncheck the box against the Detail Tracing (if enabled).
- 2. Click on the Display Optimizer Status Panel checkboxes (if disabled).
- 3. In order to view details of what QODBC is working on, then click on the Display Driver Status Panel (it is optional).
- 4. Lastly click on the Apply tab.
- Next, Click on the Optimizer tab and follow the steps:
- 1. Click on the Use Optimizer box (if disabled).
- 2. Default Optimizer file path is usually displayed as – (%AppData%\QODBC Driver for QuickBooks\Optimizer). This is the advised path to use.
- 3. Click on the option The start of every query (if not selected) and then click on Apply
- Lastly, select the OK tab to close the setup of QODBC.
Now you should be able to use ODBC Driver in order to transfer data to third party reliable applications. In case you get stuck somewhere or require more information about the same driver, you should get in touch with the 99Accounting experts team. In the scenario that the support team is not able to be connected, you can try to get in touch with our proficient team.
Related News:


